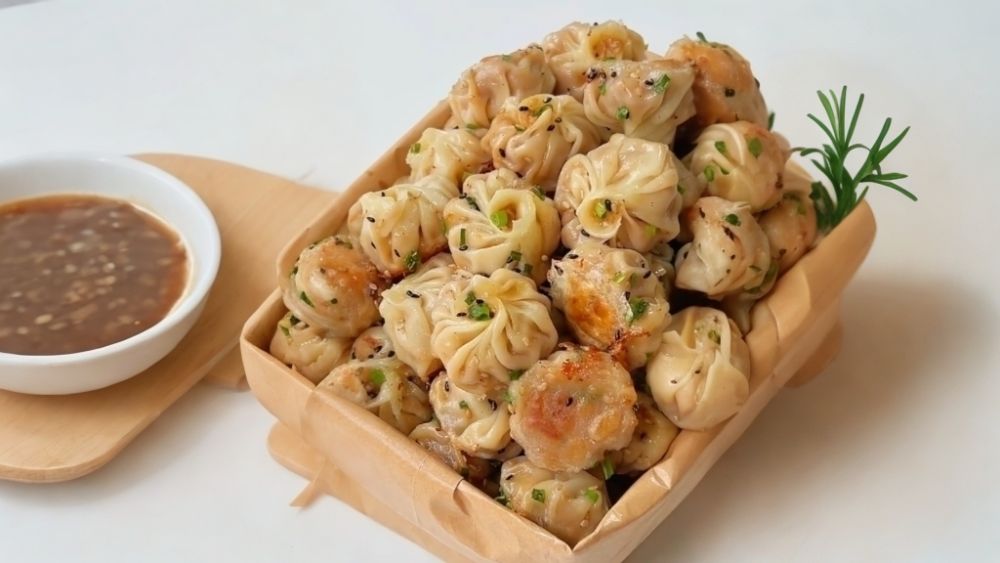
Imagine biting into a bun that’s perfectly crisp on the outside, revealing a juicy and flavorful chicken filling inside.
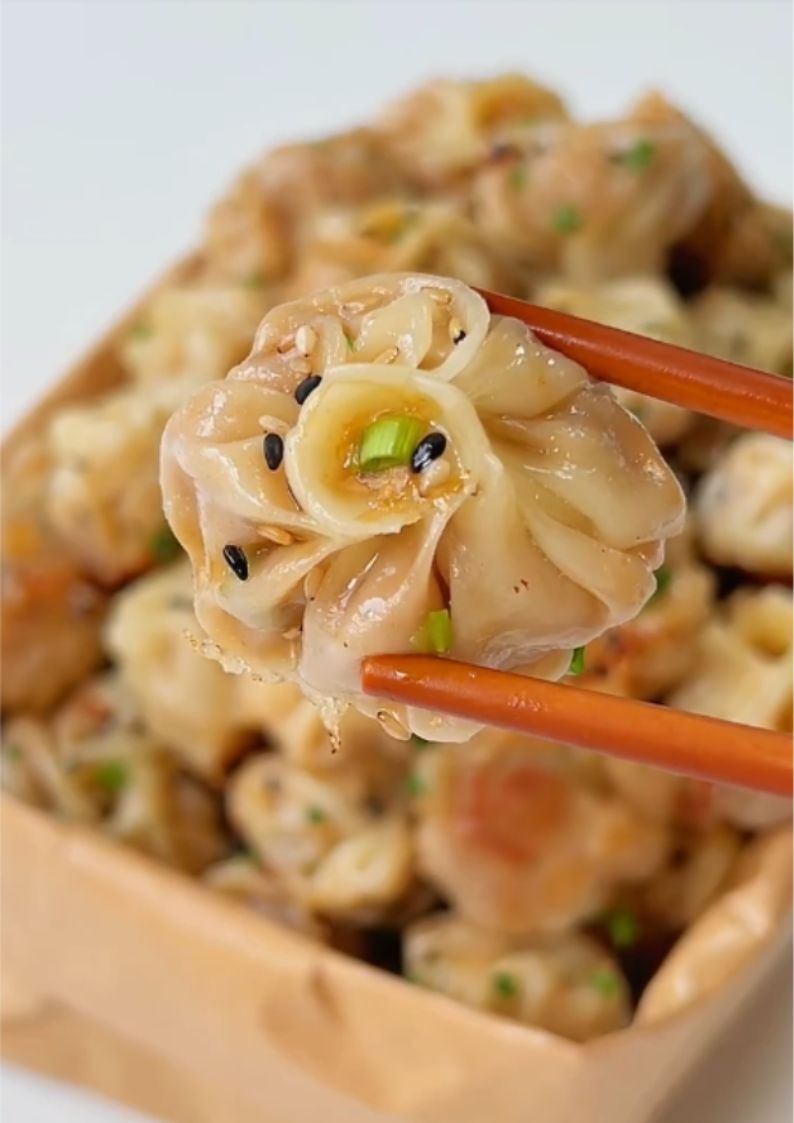
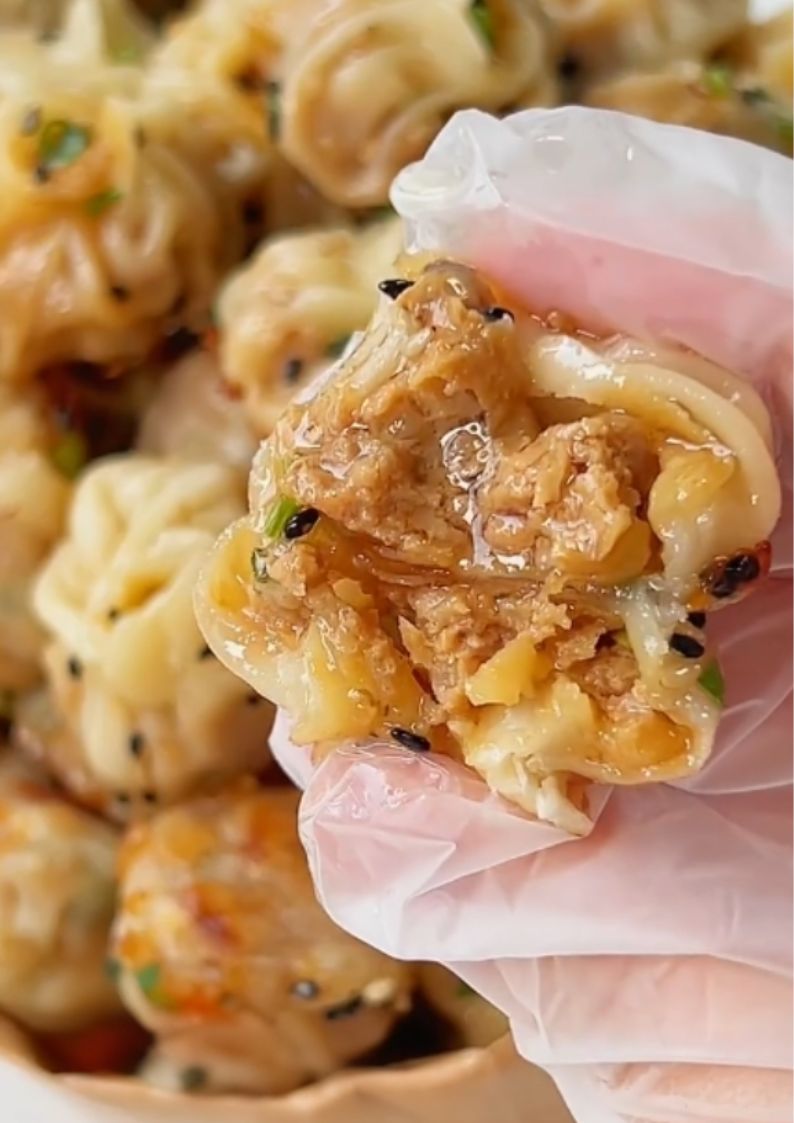
If you’re a fan of dumplings and buns, you’re going to love these crispy chicken-filled pan-fried buns. These delightful treats combine a crispy, golden bottom with a juicy, flavorful chicken filling that bursts with aromatic herbs and spices. Perfect as a snack or a main dish, these buns are sure to impress with their delicious and rich taste. The combination of textures and flavors makes each bite a delightful experience.
Ingredients
- 150ml water
- 30g green onions
- 20g ginger
- 10g Sichuan peppercorns
- 1 cube of chicken broth
- 300g chicken breast or thigh, minced
- 1 egg
- 1 teaspoon white pepper
- 1 teaspoon Chinese five-spice powder
- 1 tablespoon light soy sauce
- 1 tablespoon dark soy sauce
- 1 tablespoon oyster sauce
- 1 tablespoon sesame oil
- 2 tablespoon chopped green onions
- 40-50 wonton wrappers
- 2 tablespoon starch mixed with 150ml water
- 1 tablespoon sesame seeds
- 2 tablespoon chopped green onions
Serving size:
This recipe makes approximately 40-50 buns, suitable for 6-8 servings as a main dish or 10-12 servings as an appetizer.
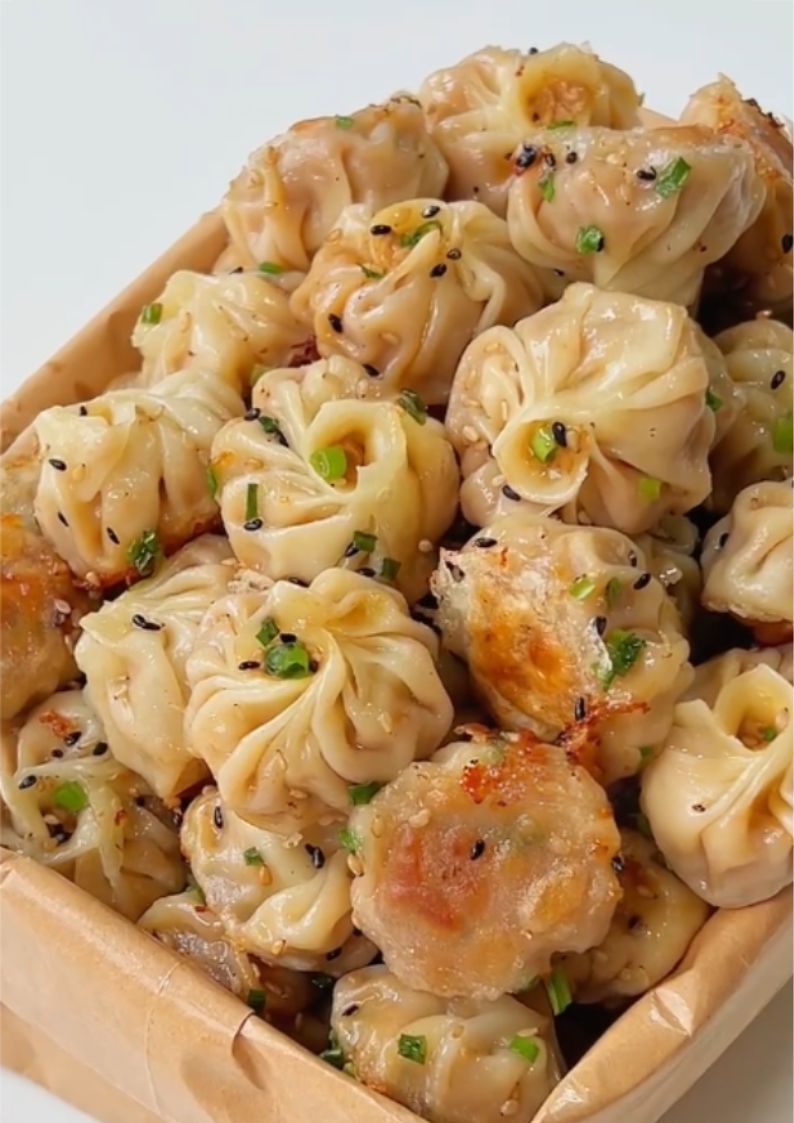
Garnish with sesame and chopped green onions
Step 1: Prepare the Broth
- Boil 150g of water in a small pot. This will be the base for our broth.
- Add 30g of green onions, 20g of ginger, and 10g of Sichuan peppercorns.
- Simmer for about 10-15 minutes, allowing the flavors to infuse into the broth.
- Strain the broth to remove the solids and set it aside.
Step 2: Dissolve the Chicken Stock
- While the broth is still hot, add 1 cube of Chicken Stock to enhance the umami taste of the filling.
- Stir until it’s completely dissolved.
- Allow the broth to cool and set it aside for later use.
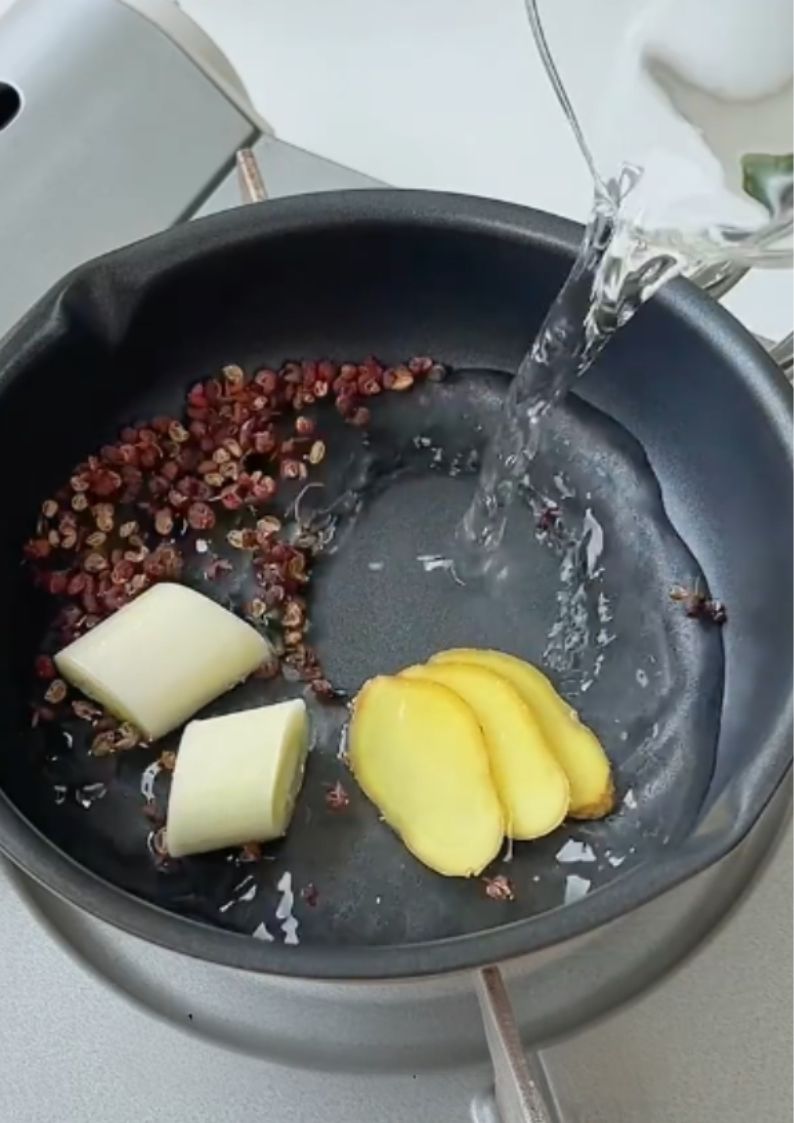
Prepare the broth with the ingredients
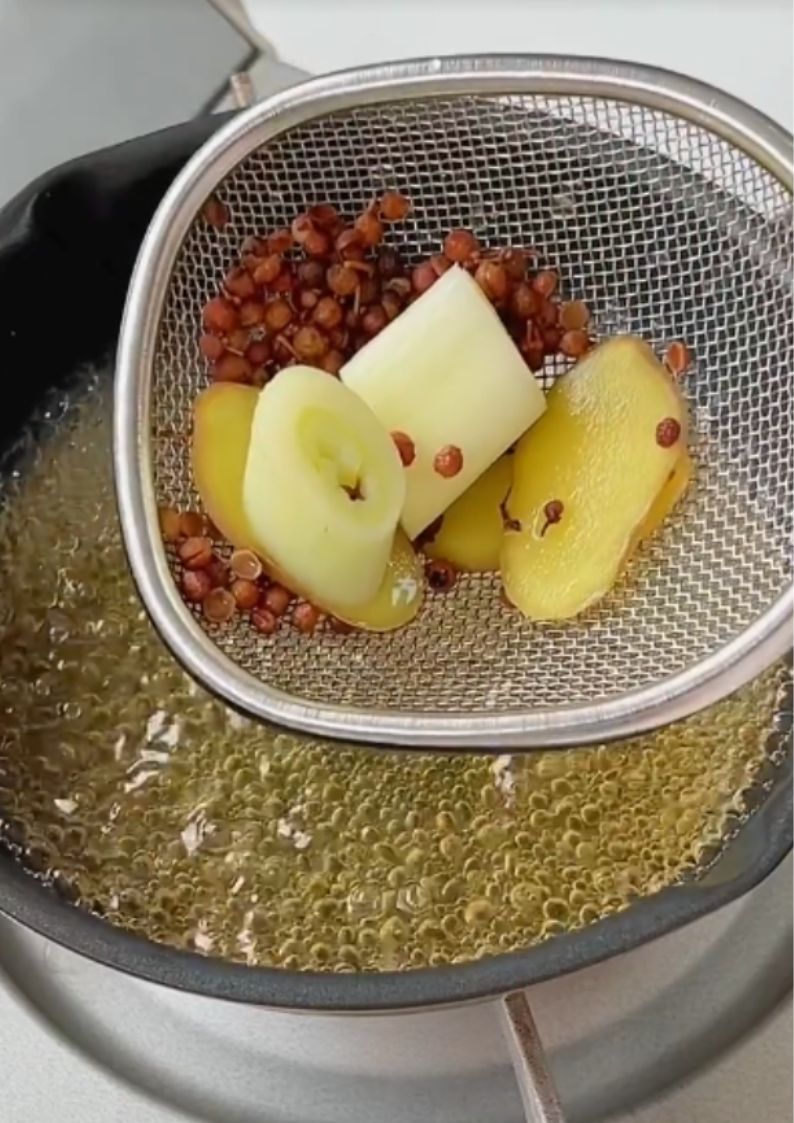
Strain the broth to remove the solids

Add chicken stock to the broth
Step 3: Prepare the Filling
- In a large mixing bowl, combine:
- 300g of minced chicken
- 1 egg
- 1 teaspoon of white pepper
- 1 teaspoon of Chinese five-spice powder
- 1 tablespoon of light soy sauce
- 1 tablespoon of dark soy sauce
- 1 tablespoon of oyster sauce
- 1 tablespoon of sesame oil
- Mix everything together until well combined and smooth.
Step 4: Incorporate the Broth
- Gradually add the cooled broth to the chicken mixture, stirring well after each addition to ensure the broth is fully incorporated.
- Add 2 tablespoon of chopped green onions and mix everything together until well combined.
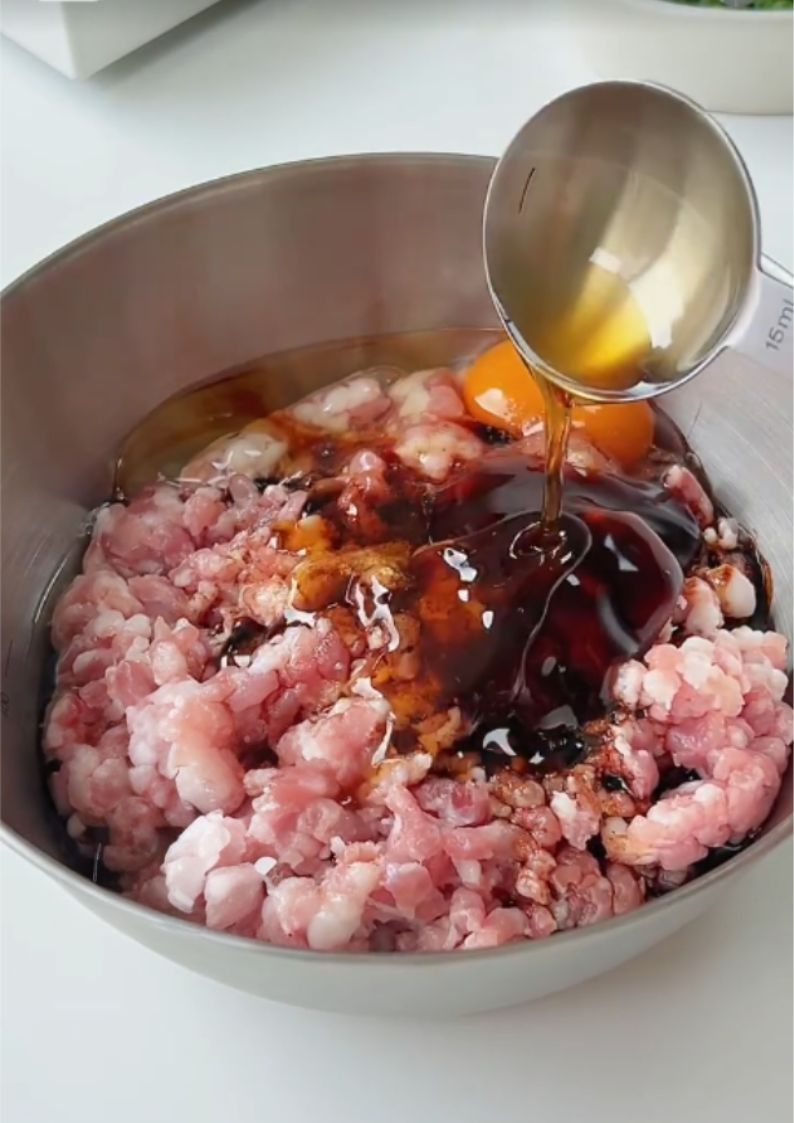
Prepare the filling
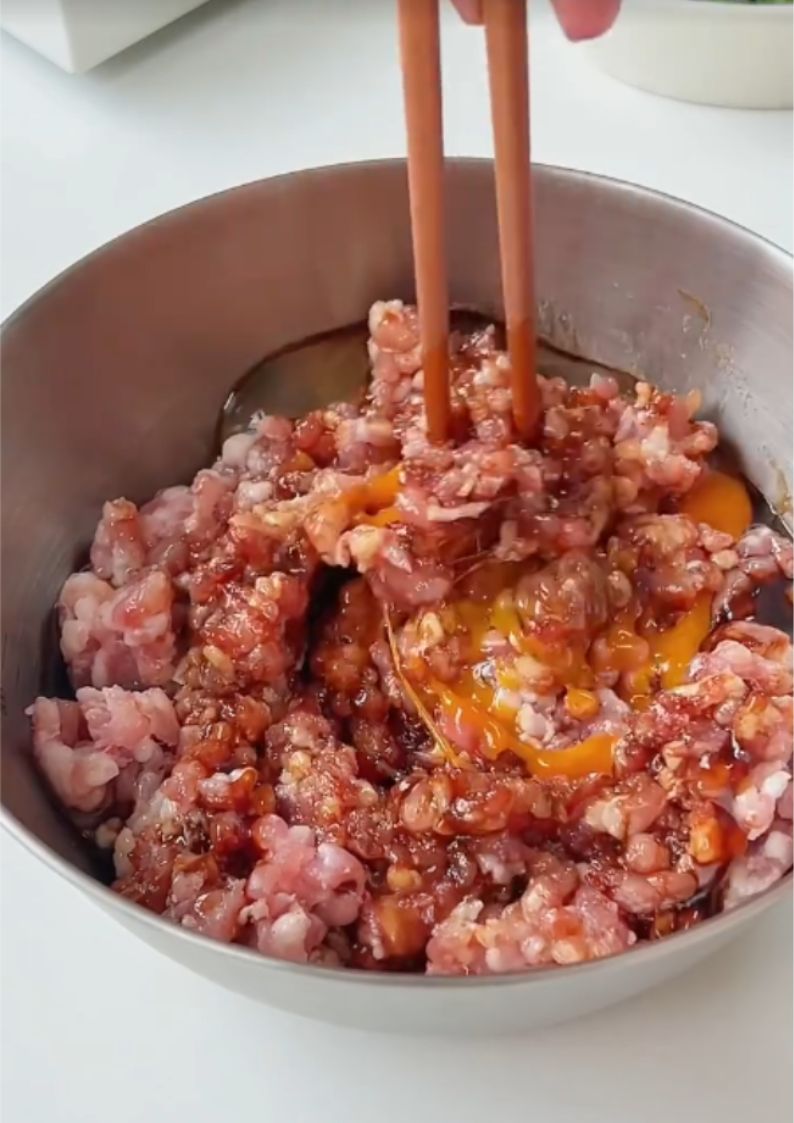
Mix them well
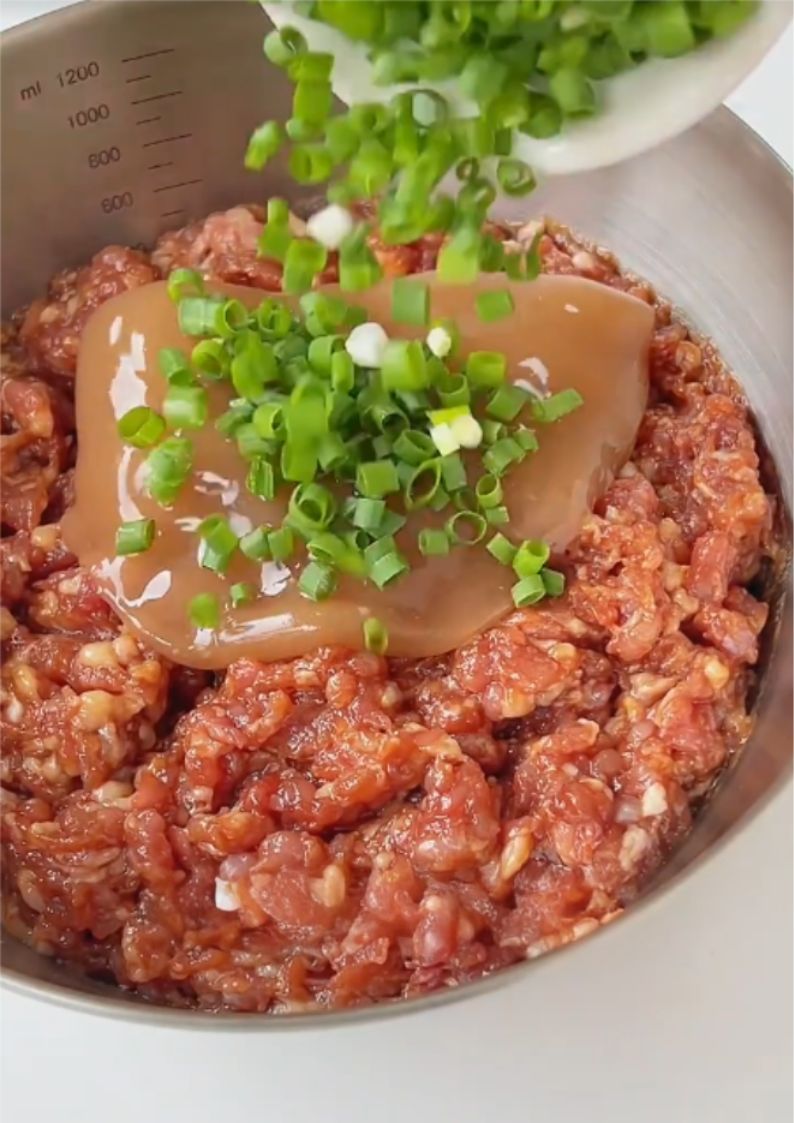
Mix the filling with the broth
Step 5: Wrap the Buns
- Place a wonton wrapper in your palm.
- Add a spoonful of the chicken filling in the center.
- Dab the edges of the wrapper with a little water to help seal it.
- Fold and pinch the edges together to form a bun, ensuring it’s sealed tightly to prevent any filling from leaking out during cooking.
Step 6: Pan-Fry the Buns
- Heat a large non-stick pan over medium heat and add a little oil.
- Place the buns in the pan, seam side up.
- Cook until the bottoms are slightly charred and golden brown, about 2-3 minutes.
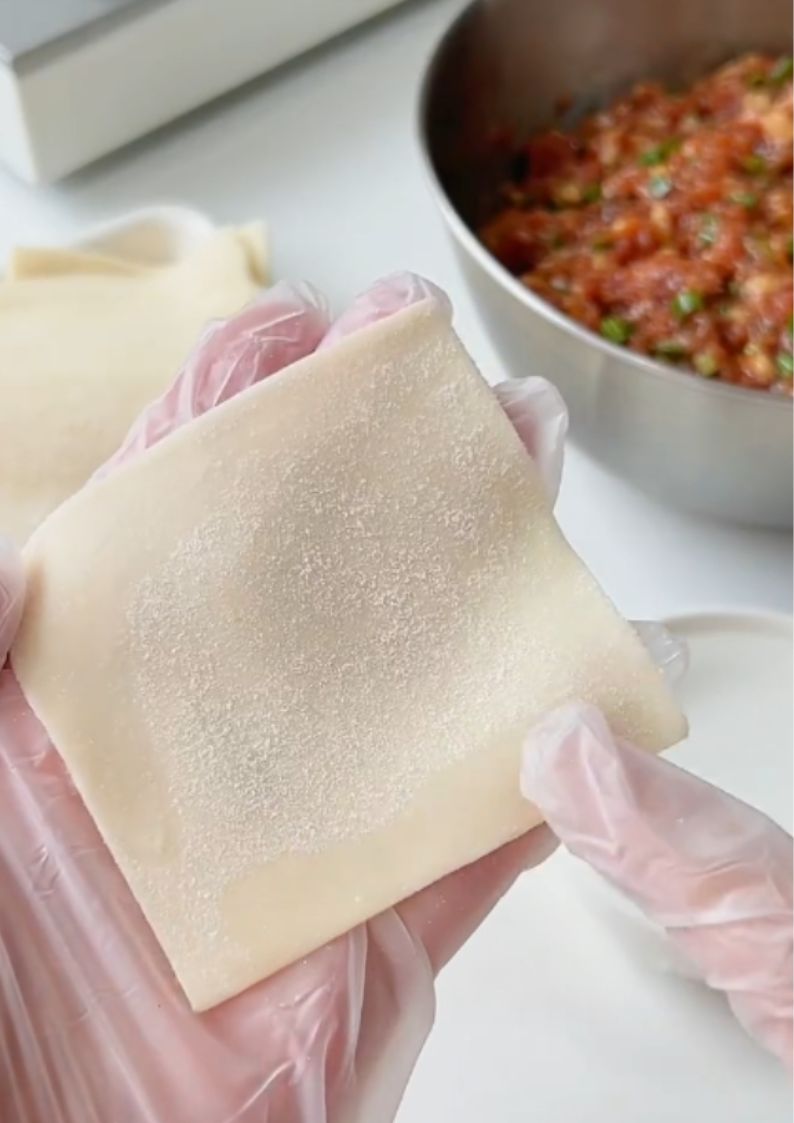
Prepare the wonton wrapper
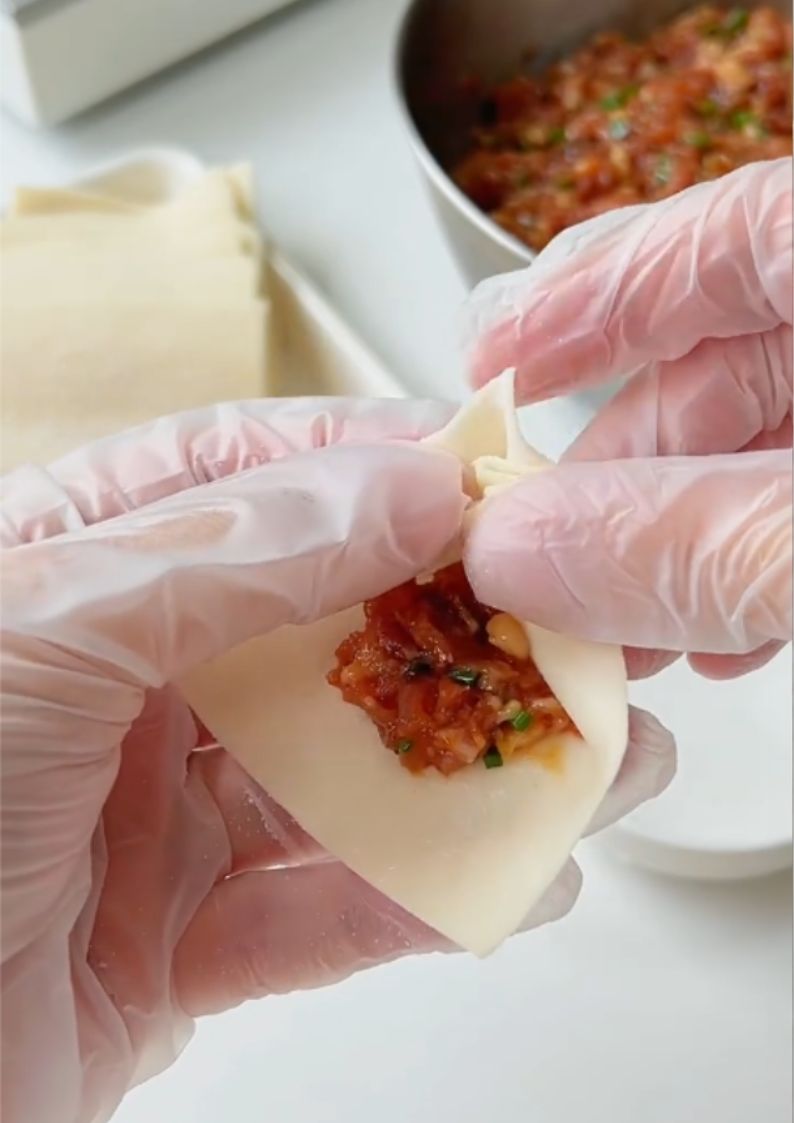
Carefully wrap them with the fillings
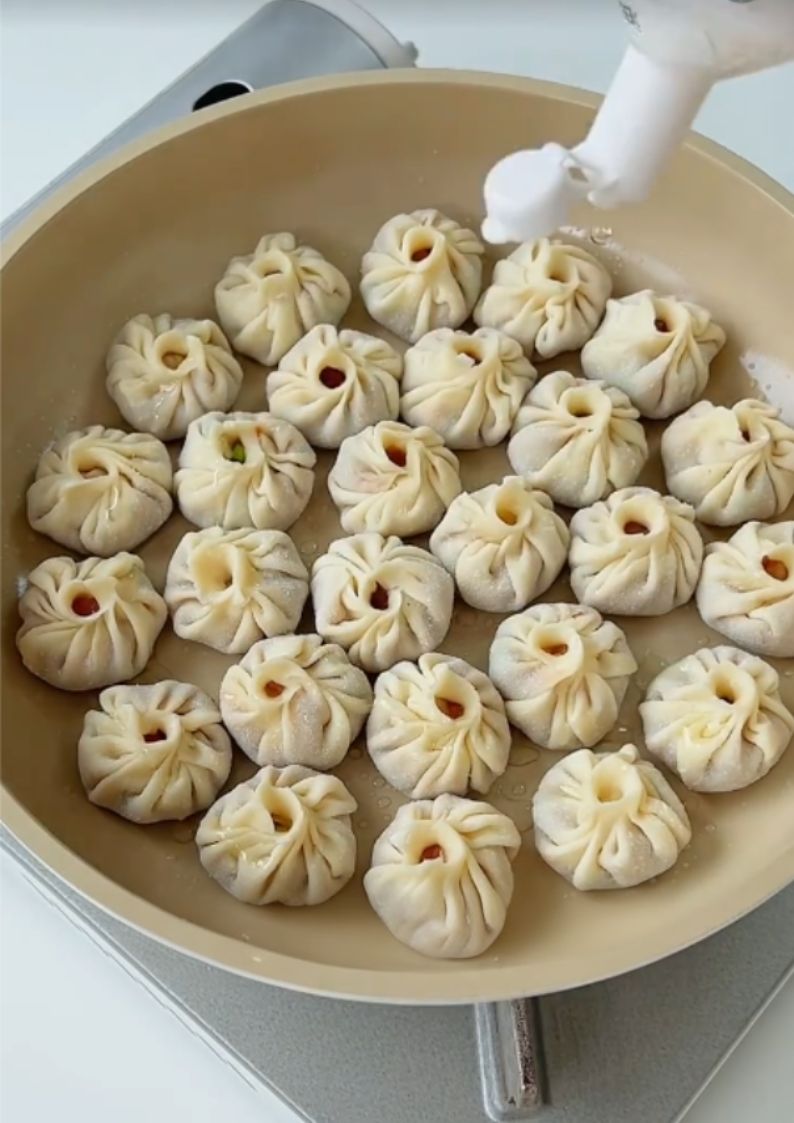
Add a little oil and pan-fry them
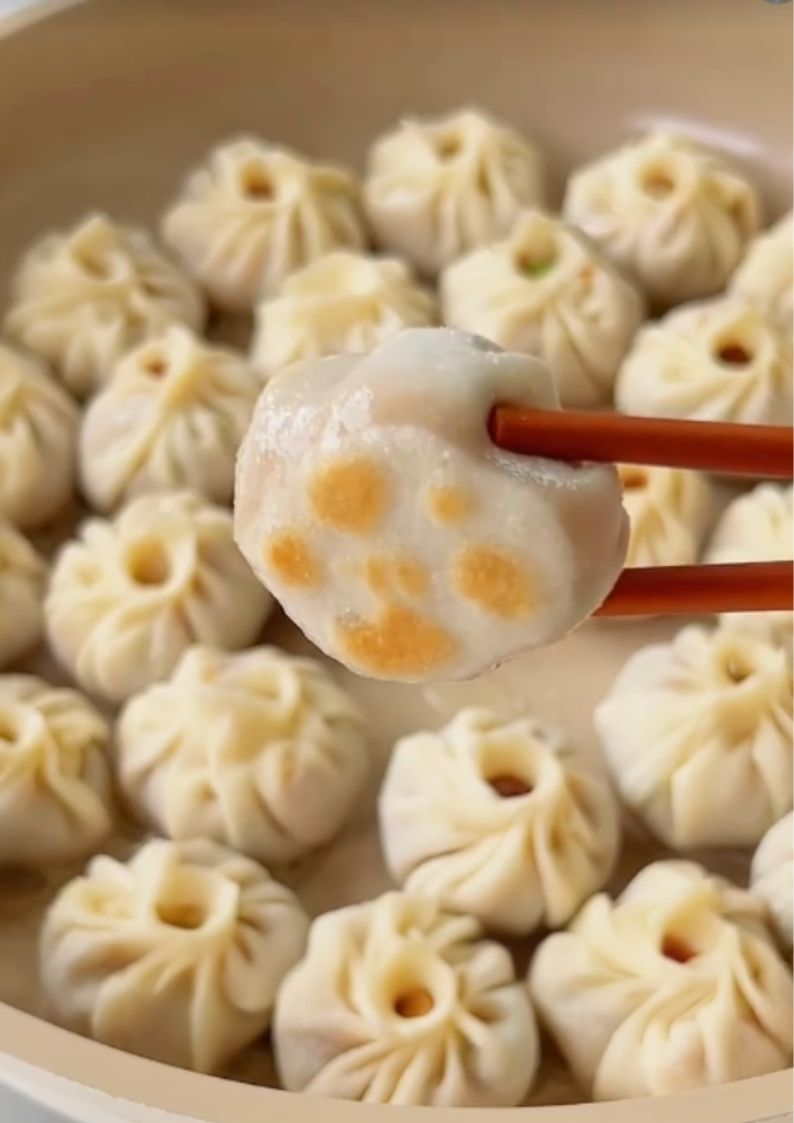
Pan-fry till the base is a little charred
Step 7: Create the Crispy Base
- Mix 2 tablespoon of starch with 150ml of water.
- Pour this mixture into the pan around the buns, ensuring it spreads evenly.
- Cover the pan with a lid and cook until the water has evaporated and the starch mixture has formed a golden, crispy base, about 5-7 minutes.
Step 8: Garnish and Serve
- Remove the buns from the pan and place them on a serving plate.
- Garnish with 1 tablespoon of sesame seeds and 2 tablespoon of chopped green onions.
- Serve hot and enjoy the delightful combination of crispy, juicy, and flavorful bites.
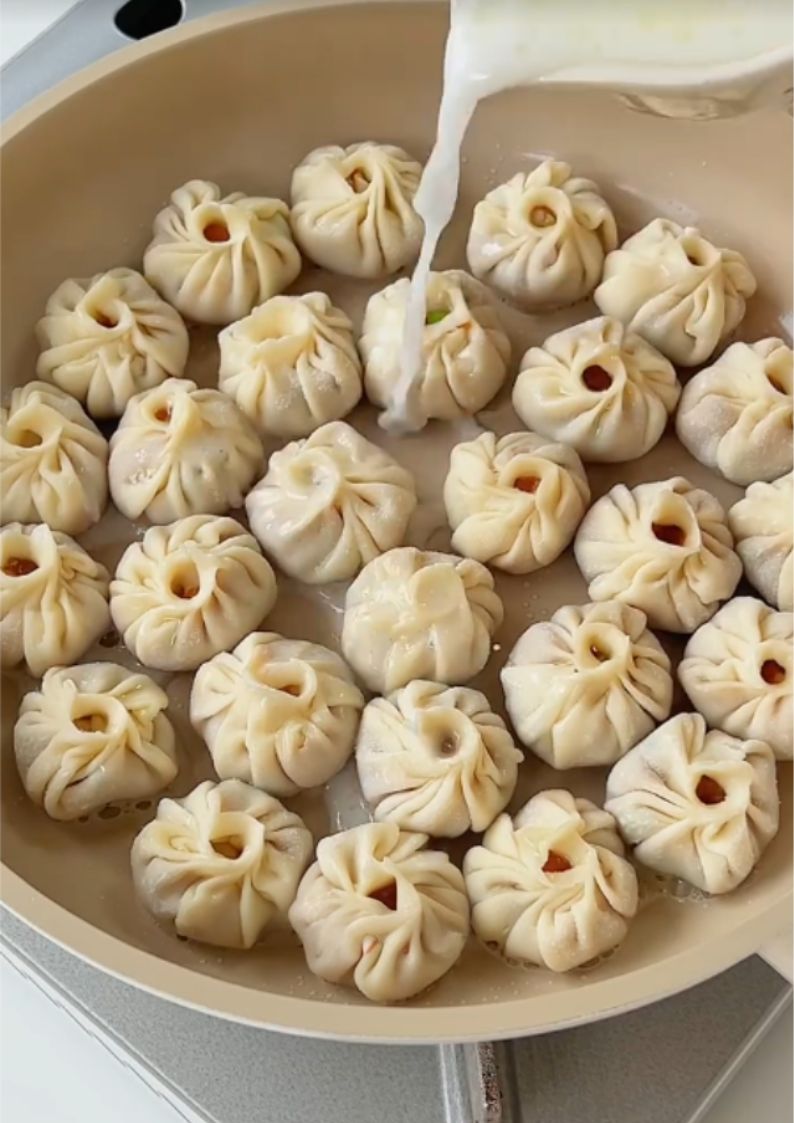
Pour starch mixture
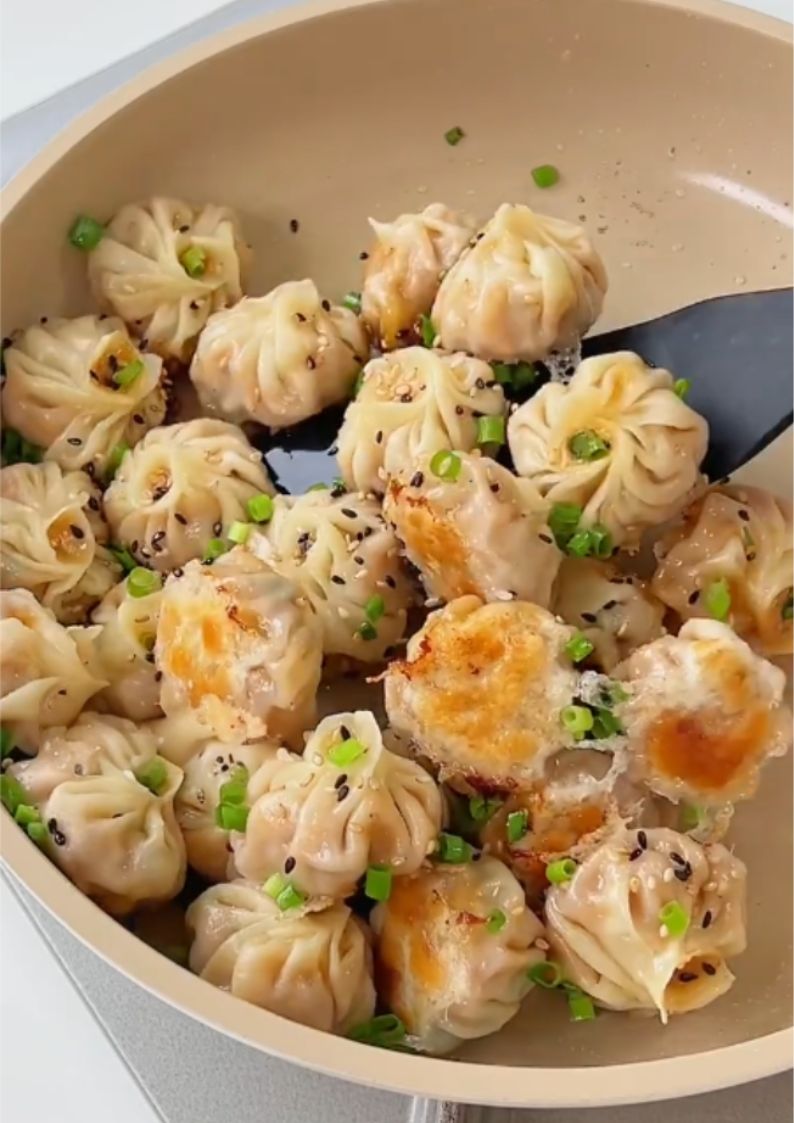
Cook until the starch mixture has formed a golden base

Garnish with sesame and chopped green onions
Bringing It All Together!
These crispy chicken-filled pan-fried buns are a perfect addition to any meal or as a stand-alone snack. The combination of the crispy bottom, juicy filling, and aromatic spices creates a harmonious and satisfying experience with every bite. Whether you’re making these for a family dinner or a gathering with friends, they’re sure to be a hit. Enjoy making and savoring these delicious buns, and don’t forget to share the joy of this delightful dish with your loved ones!
This recipe is credited to 蜡笔小_X_.

